Fabric-covered journals:: a tutorial
/Originally, this tutorial was planned for the Restore Workshop only. After unraveling the time and stitching together one more journal cover, I've decided that I love it so much I wanted to share it on here with everyone. As this series of my Restore Workshop comes to an end, I am happy to announce that we are working on future workshops from my dining room. My big hope and prayer is to ultimately prepare a homeschooling workshop, packed with tutorials for homeschooling, as well as create a year 'round community for Restore. Please enjoy this tutorial and share it as you'd like. Create one for yourself, your very best friend, and all someones special. And as soon as the details are in order, I hope you can join me for more Restore and we can make more beautiful things together.


I’ve made at least a dozen of these fabric covers, designed to make a composition notebook beautiful, but I never stopped to write it all down so I could pass the instructions along. This is a wonderful place for scrap fabric (perhaps leftover from another Restore project) to become something truly beautiful. It will fit a standard 9.75 X 7.5 inch composition book
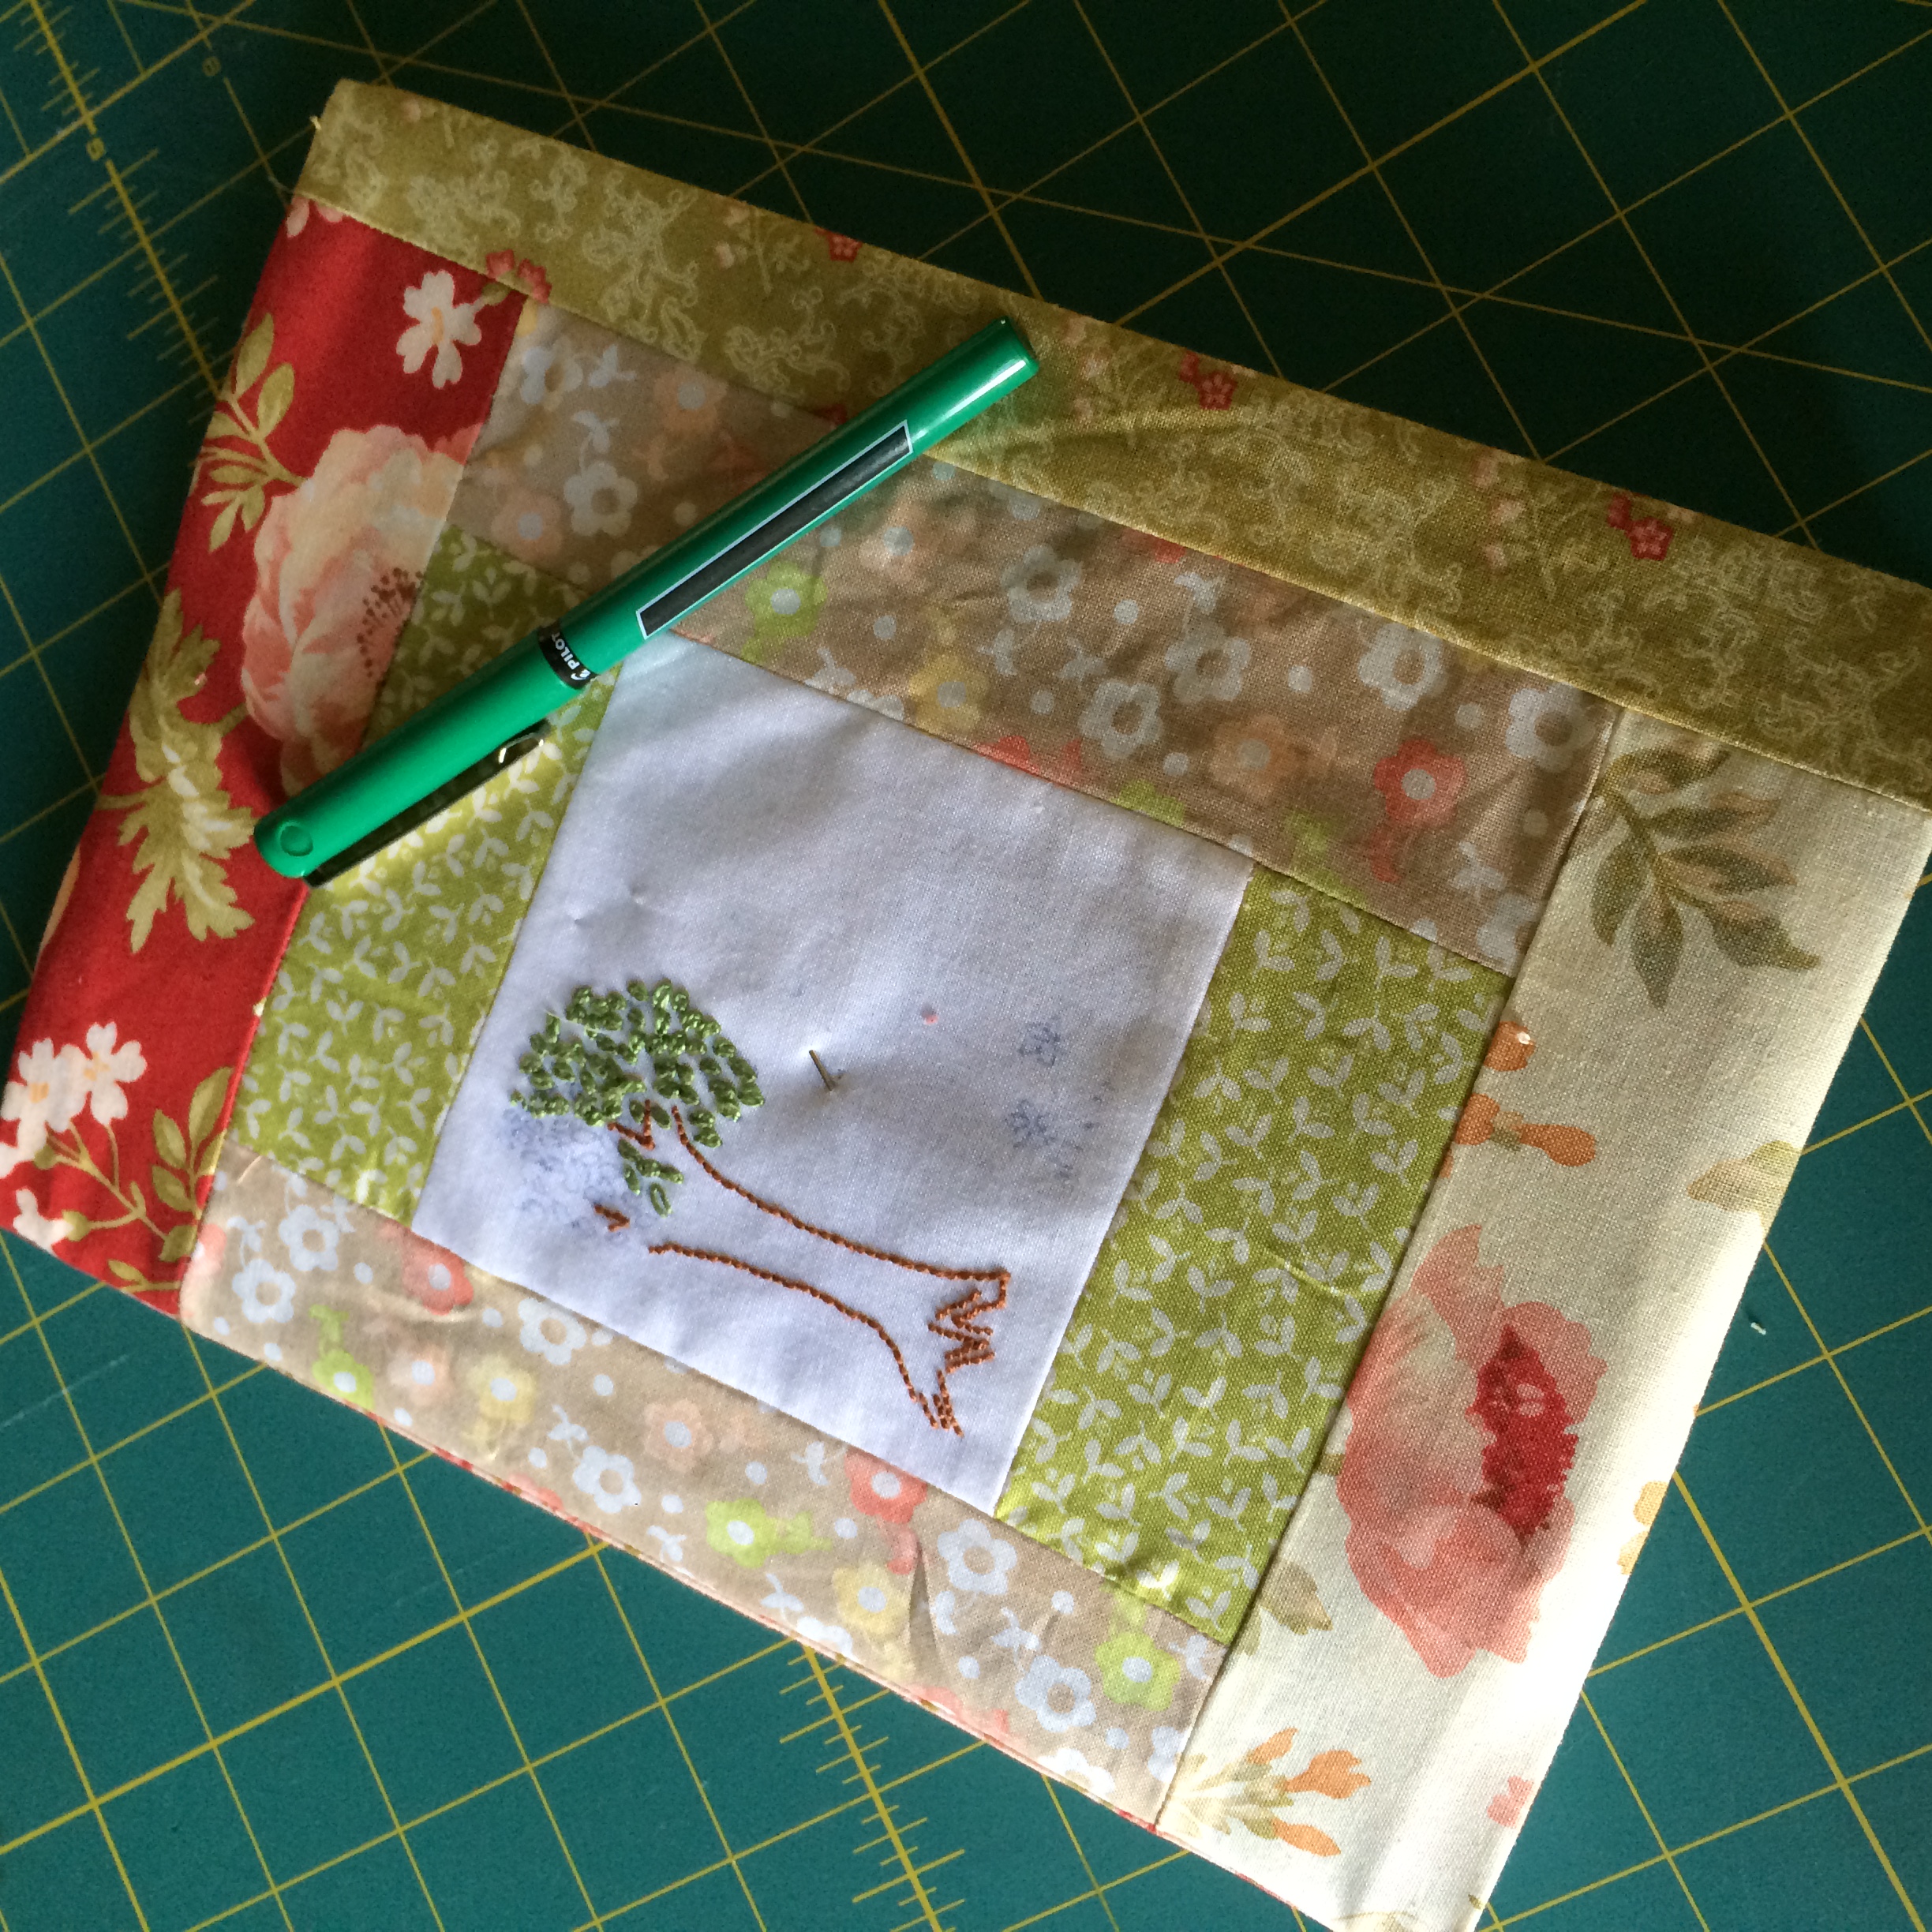
When I set about to make this cover in order to jot notes as I went, I picked up a log cabin square with embroidery that I had begun for my friend Nicole’s January birthday. My intent back then was to finish the embroidery in the middle of the square and then to use the piece as the center of a journal cover. For the purposes of this tutorial, I figured I’d finish the cover so that you could see and then I’d take the embroidery along with me to the waiting room while Patrick has surgery. It seemed like a good plan.

As you can see when you look carefully at the pictures, I forgot temporarily that the embroidery pattern had been drawn in disappearing ink. That ink disappeared when the iron met the fabric in the construction process. Further, I grew unsure of my calculations and called Nicole to come doublecheck my numbers before I published this tutorial. So, the gift has perhaps lost a bit of its charm. I will redraw and she will have a journal, just not quite in the way I imagined.
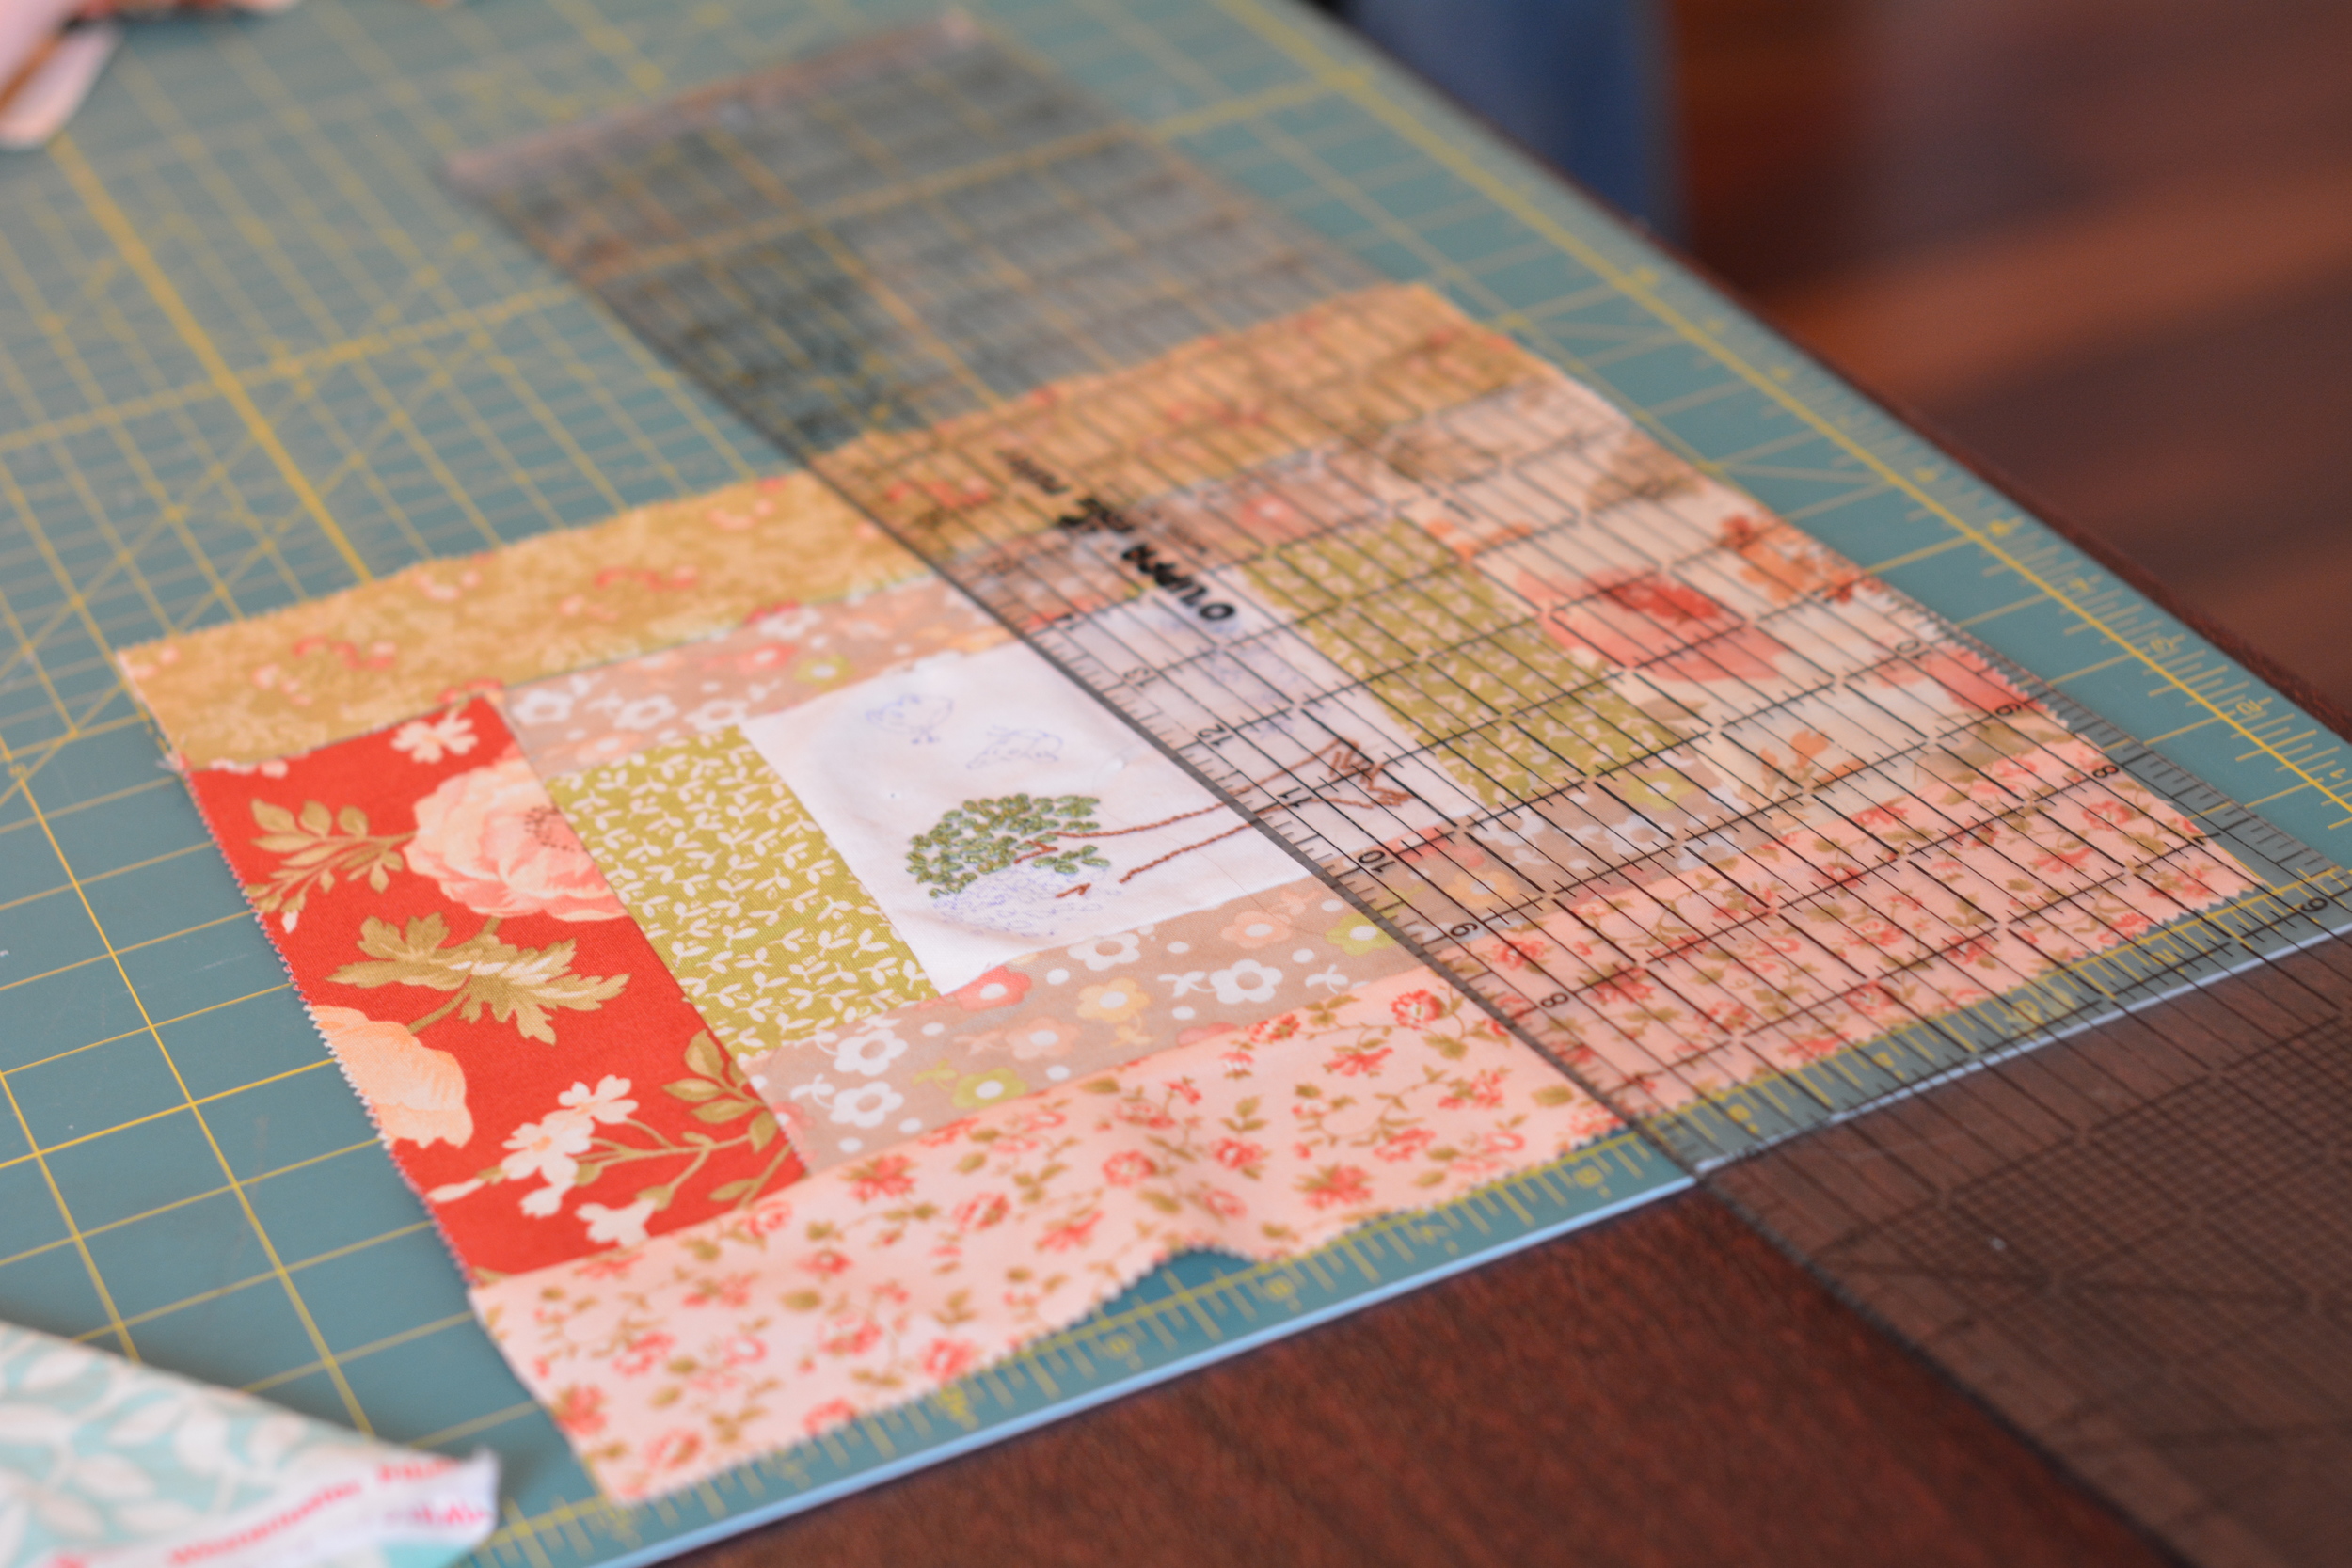

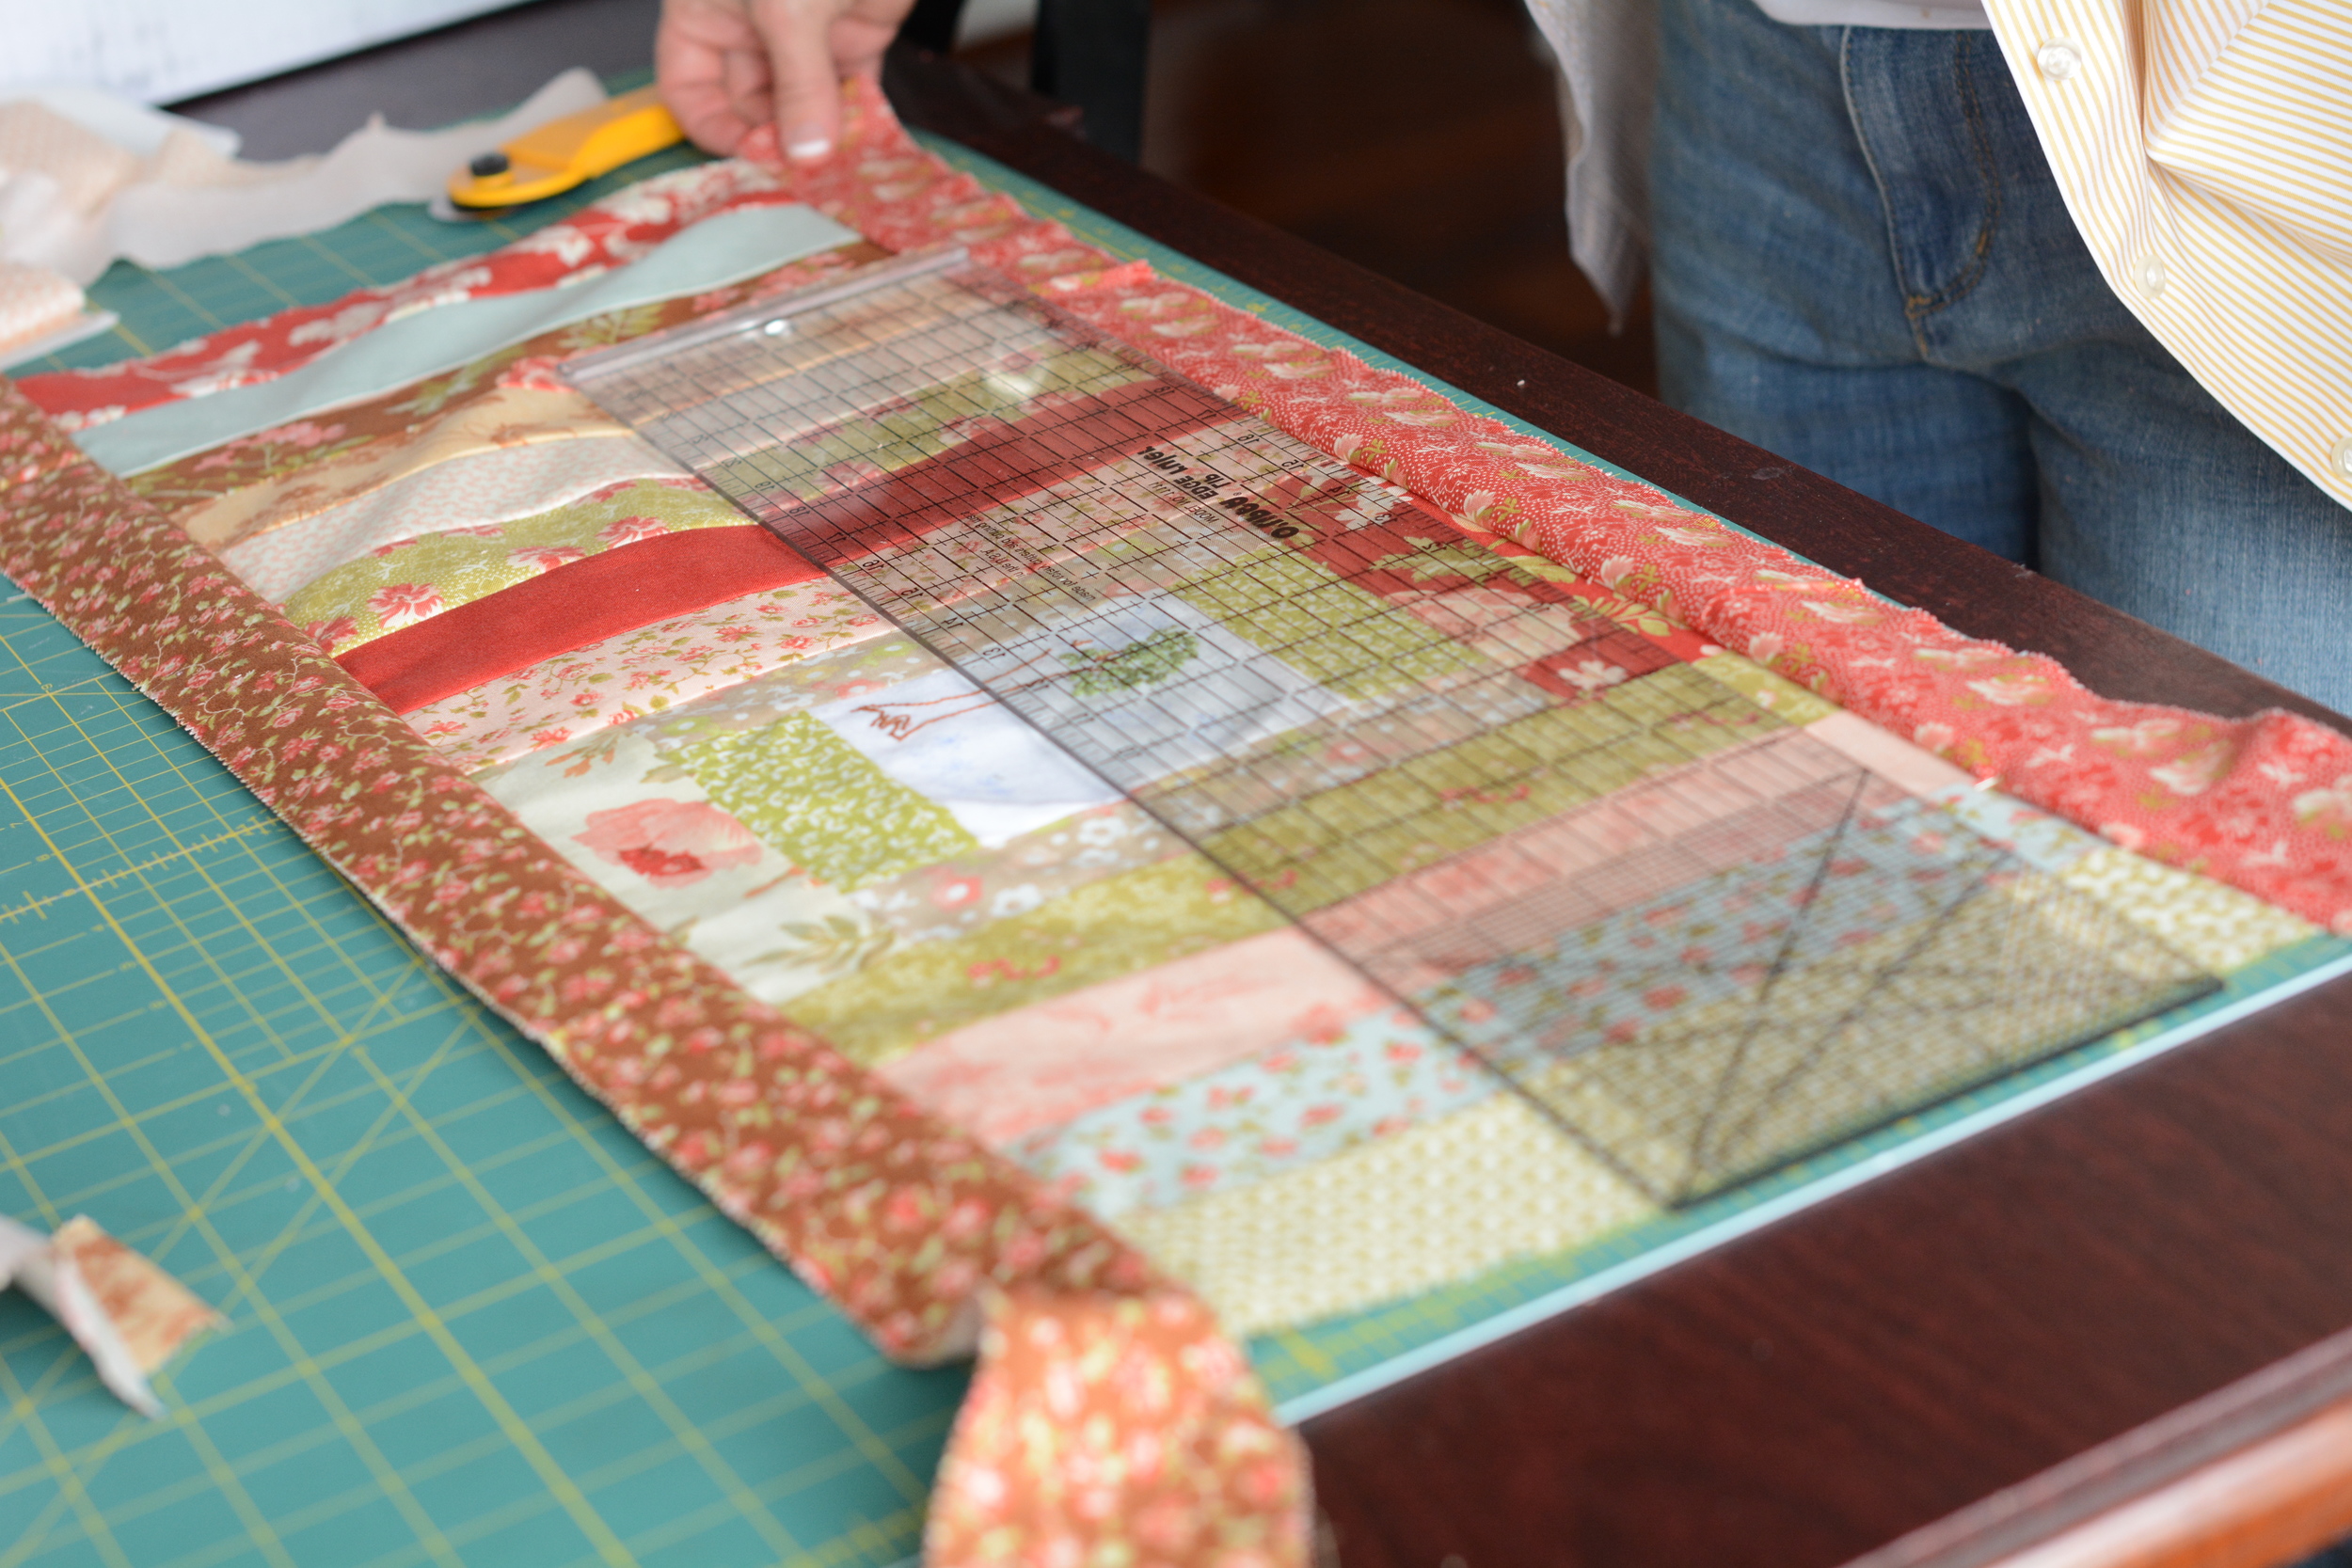
You want to have a piece of fabric that measures 30 inches by 12 inches when you begin to actually make the journal cover. It can be all one piece or you can create patchwork. You can see several examples in the blog post. For this one, I created a log cabin square and then I added more strips to fill out the height and the width. As you create, you might need to consider where your “front and center” will be. Aim for it to fall about 8 inches from the edge.

With the wrong side up, turn the short end under half an inch on both sides (wrong sides together) and press each carefully. Then, turn it under another half inch and edgestitch to close the fold. This will give you finished edges on both the pockets where the journal slips in.


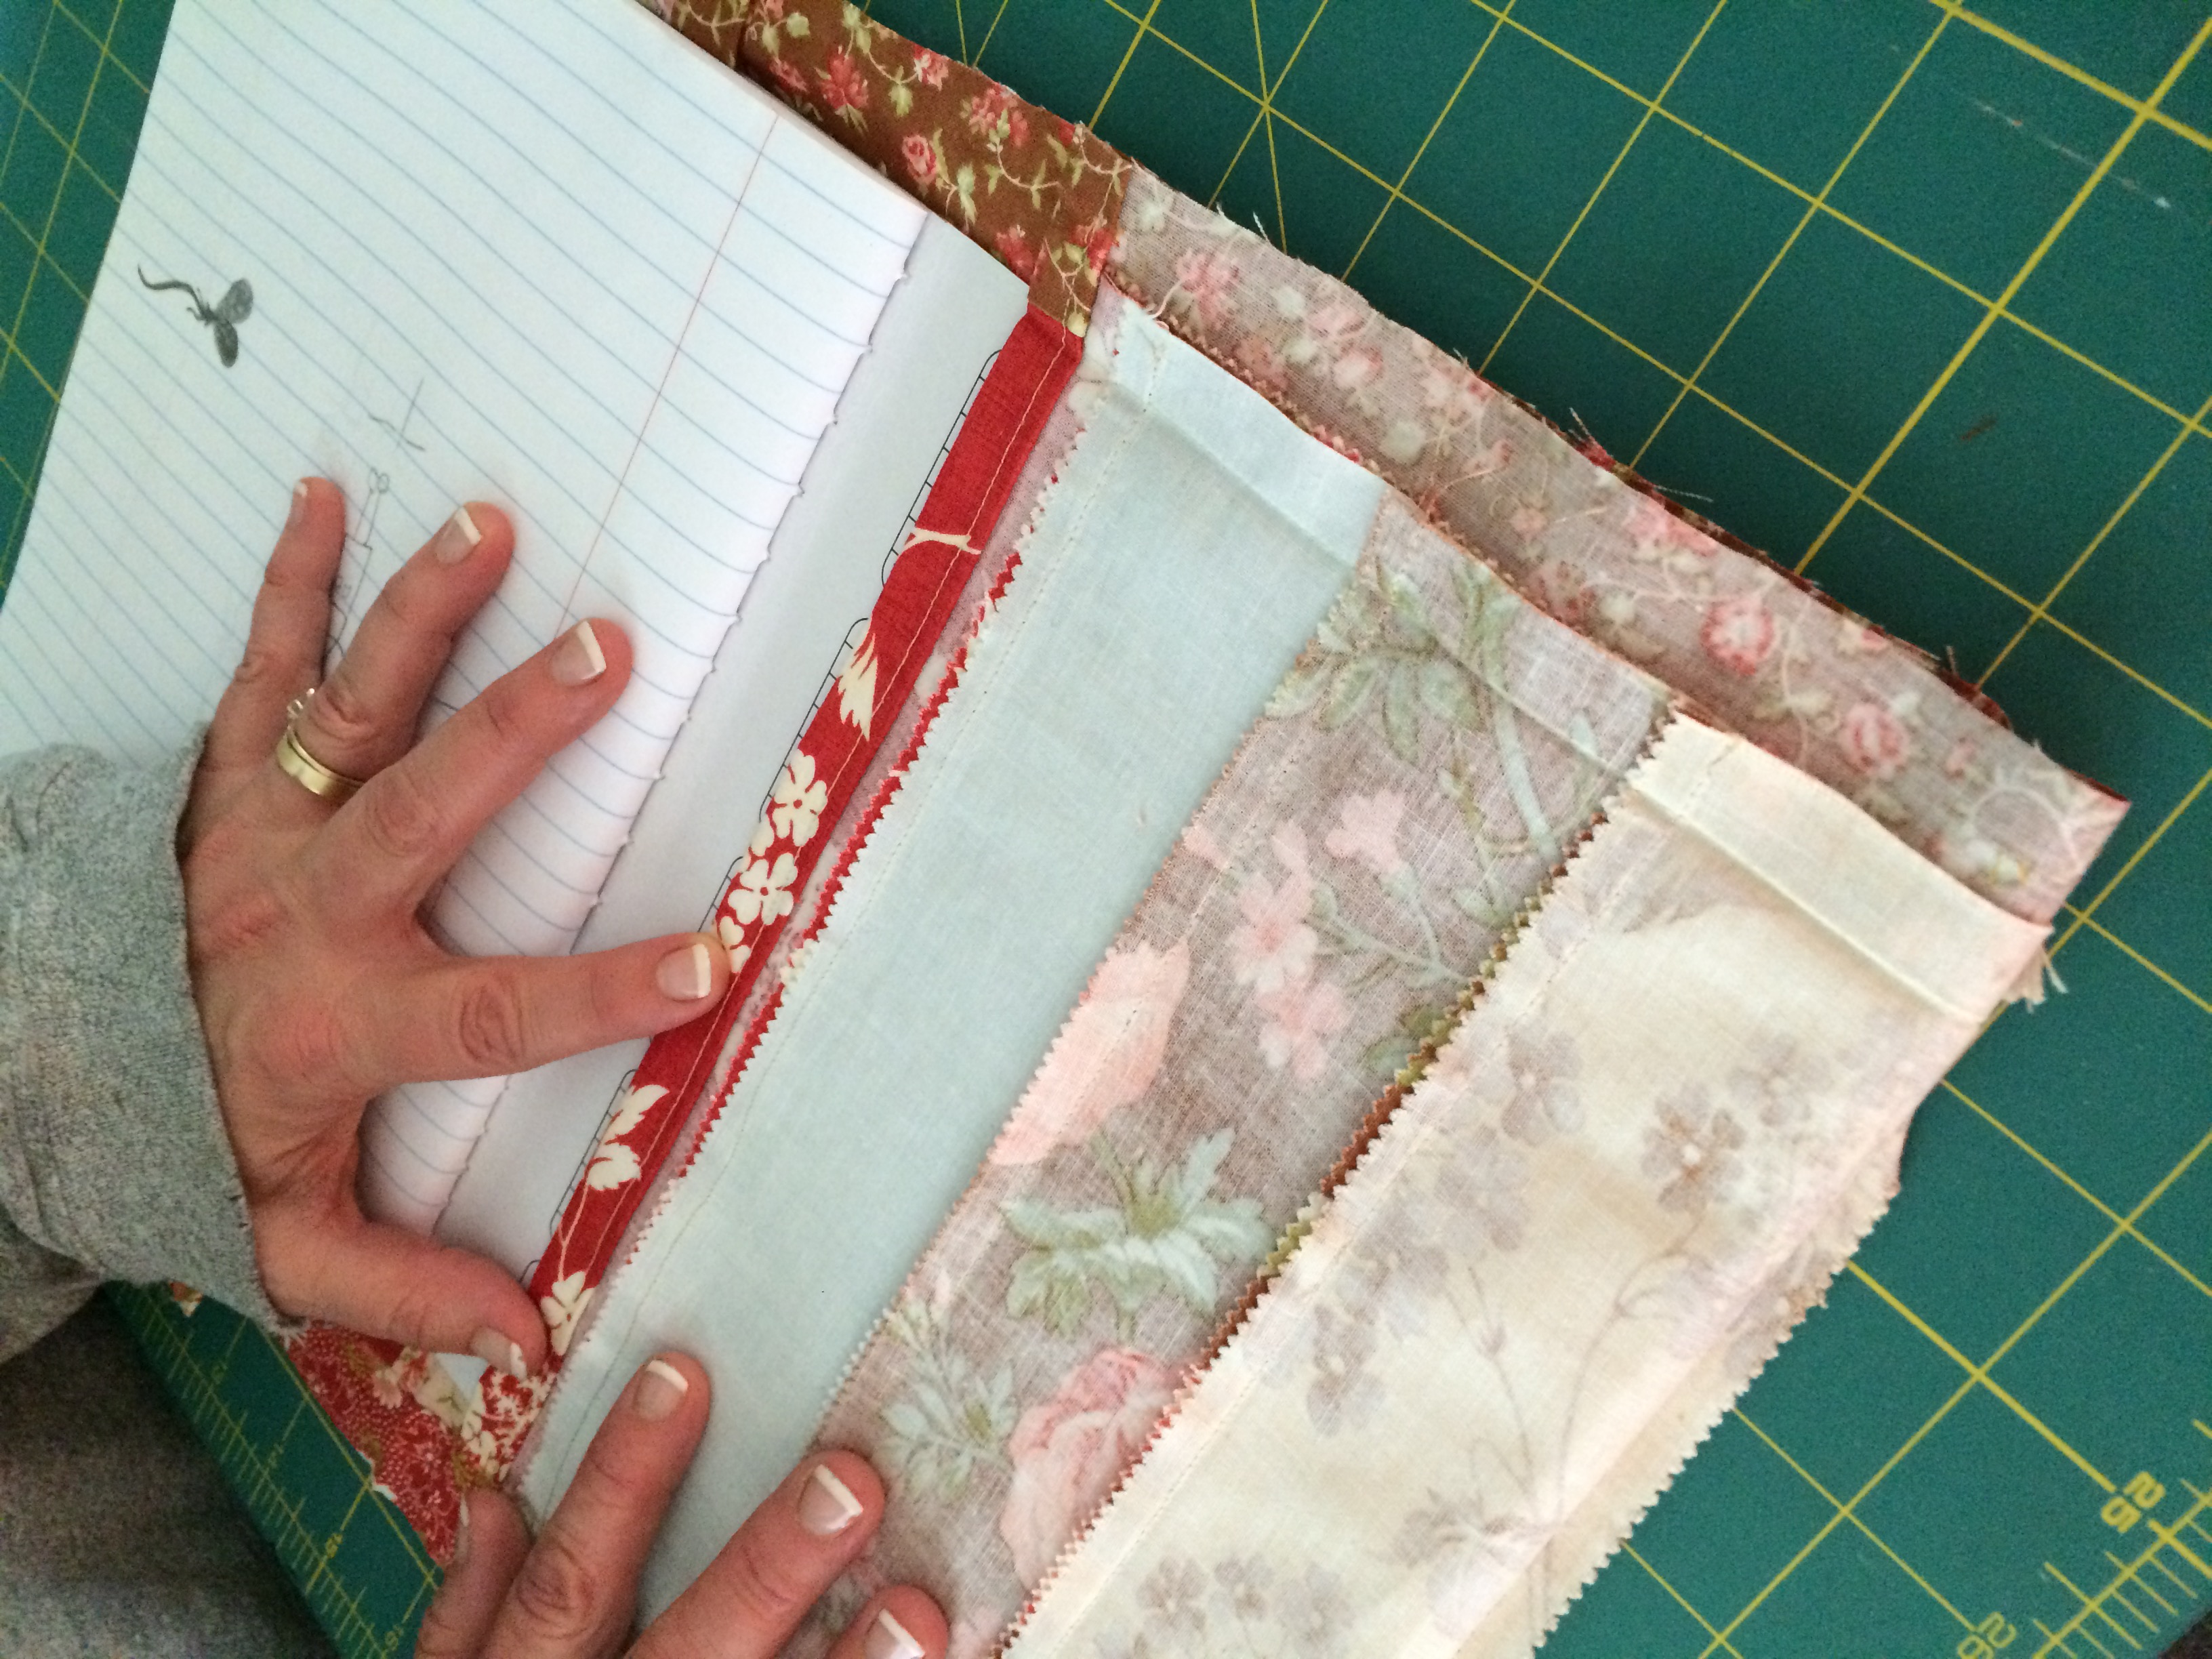
Now position your cover over your notebook. Place it where you want that center to fall and put a pin somewhere to mark it for you.


Then, with the fabric wrong side down, fold the fabric in from either short end towards the middle. Watch where the front of the journal is going to be and adjust accordingly. Pin in place.
You are going to sew four different seams, one on each side. Sew an inch wide seam along each edge, backtacking or knotting at the beginning and end of each seam.
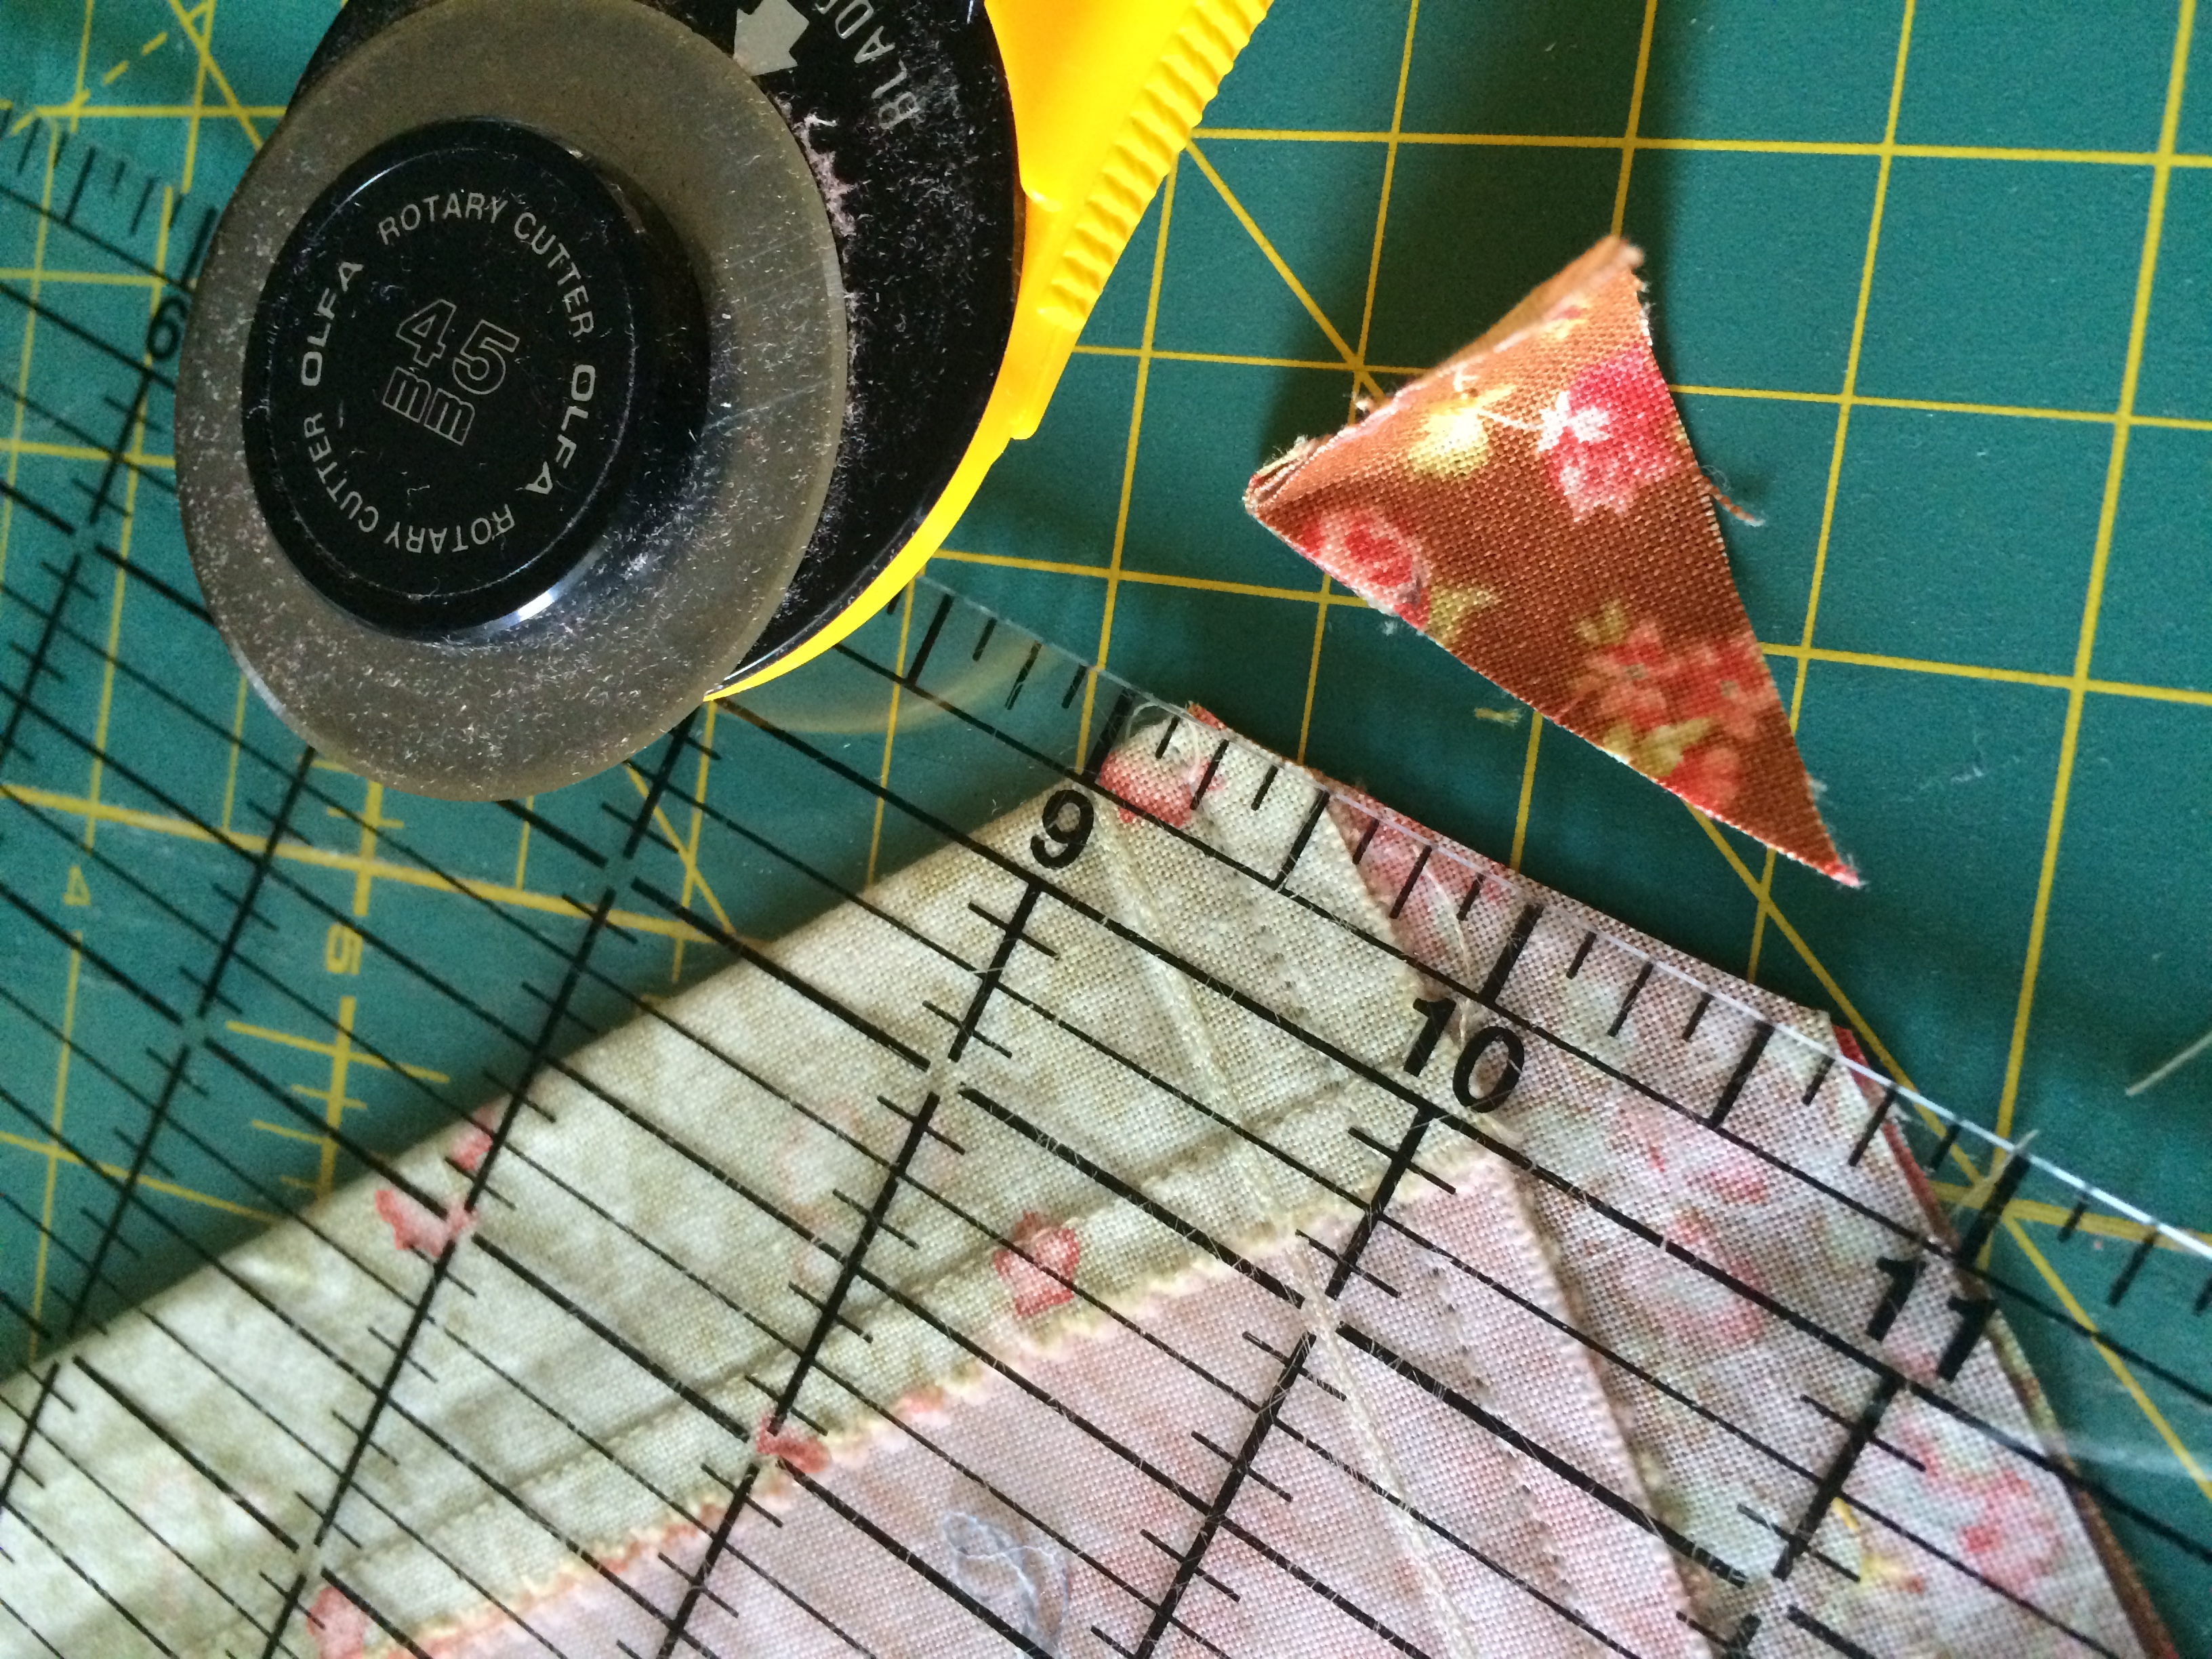
Cut the corners so that they’ll be crisp when you turn them.

Turn the whole piece so the right sides are out and use a chopstick or knitting knitting to sharpen the corners.
Slide the composition book into the pockets.
Pretty!
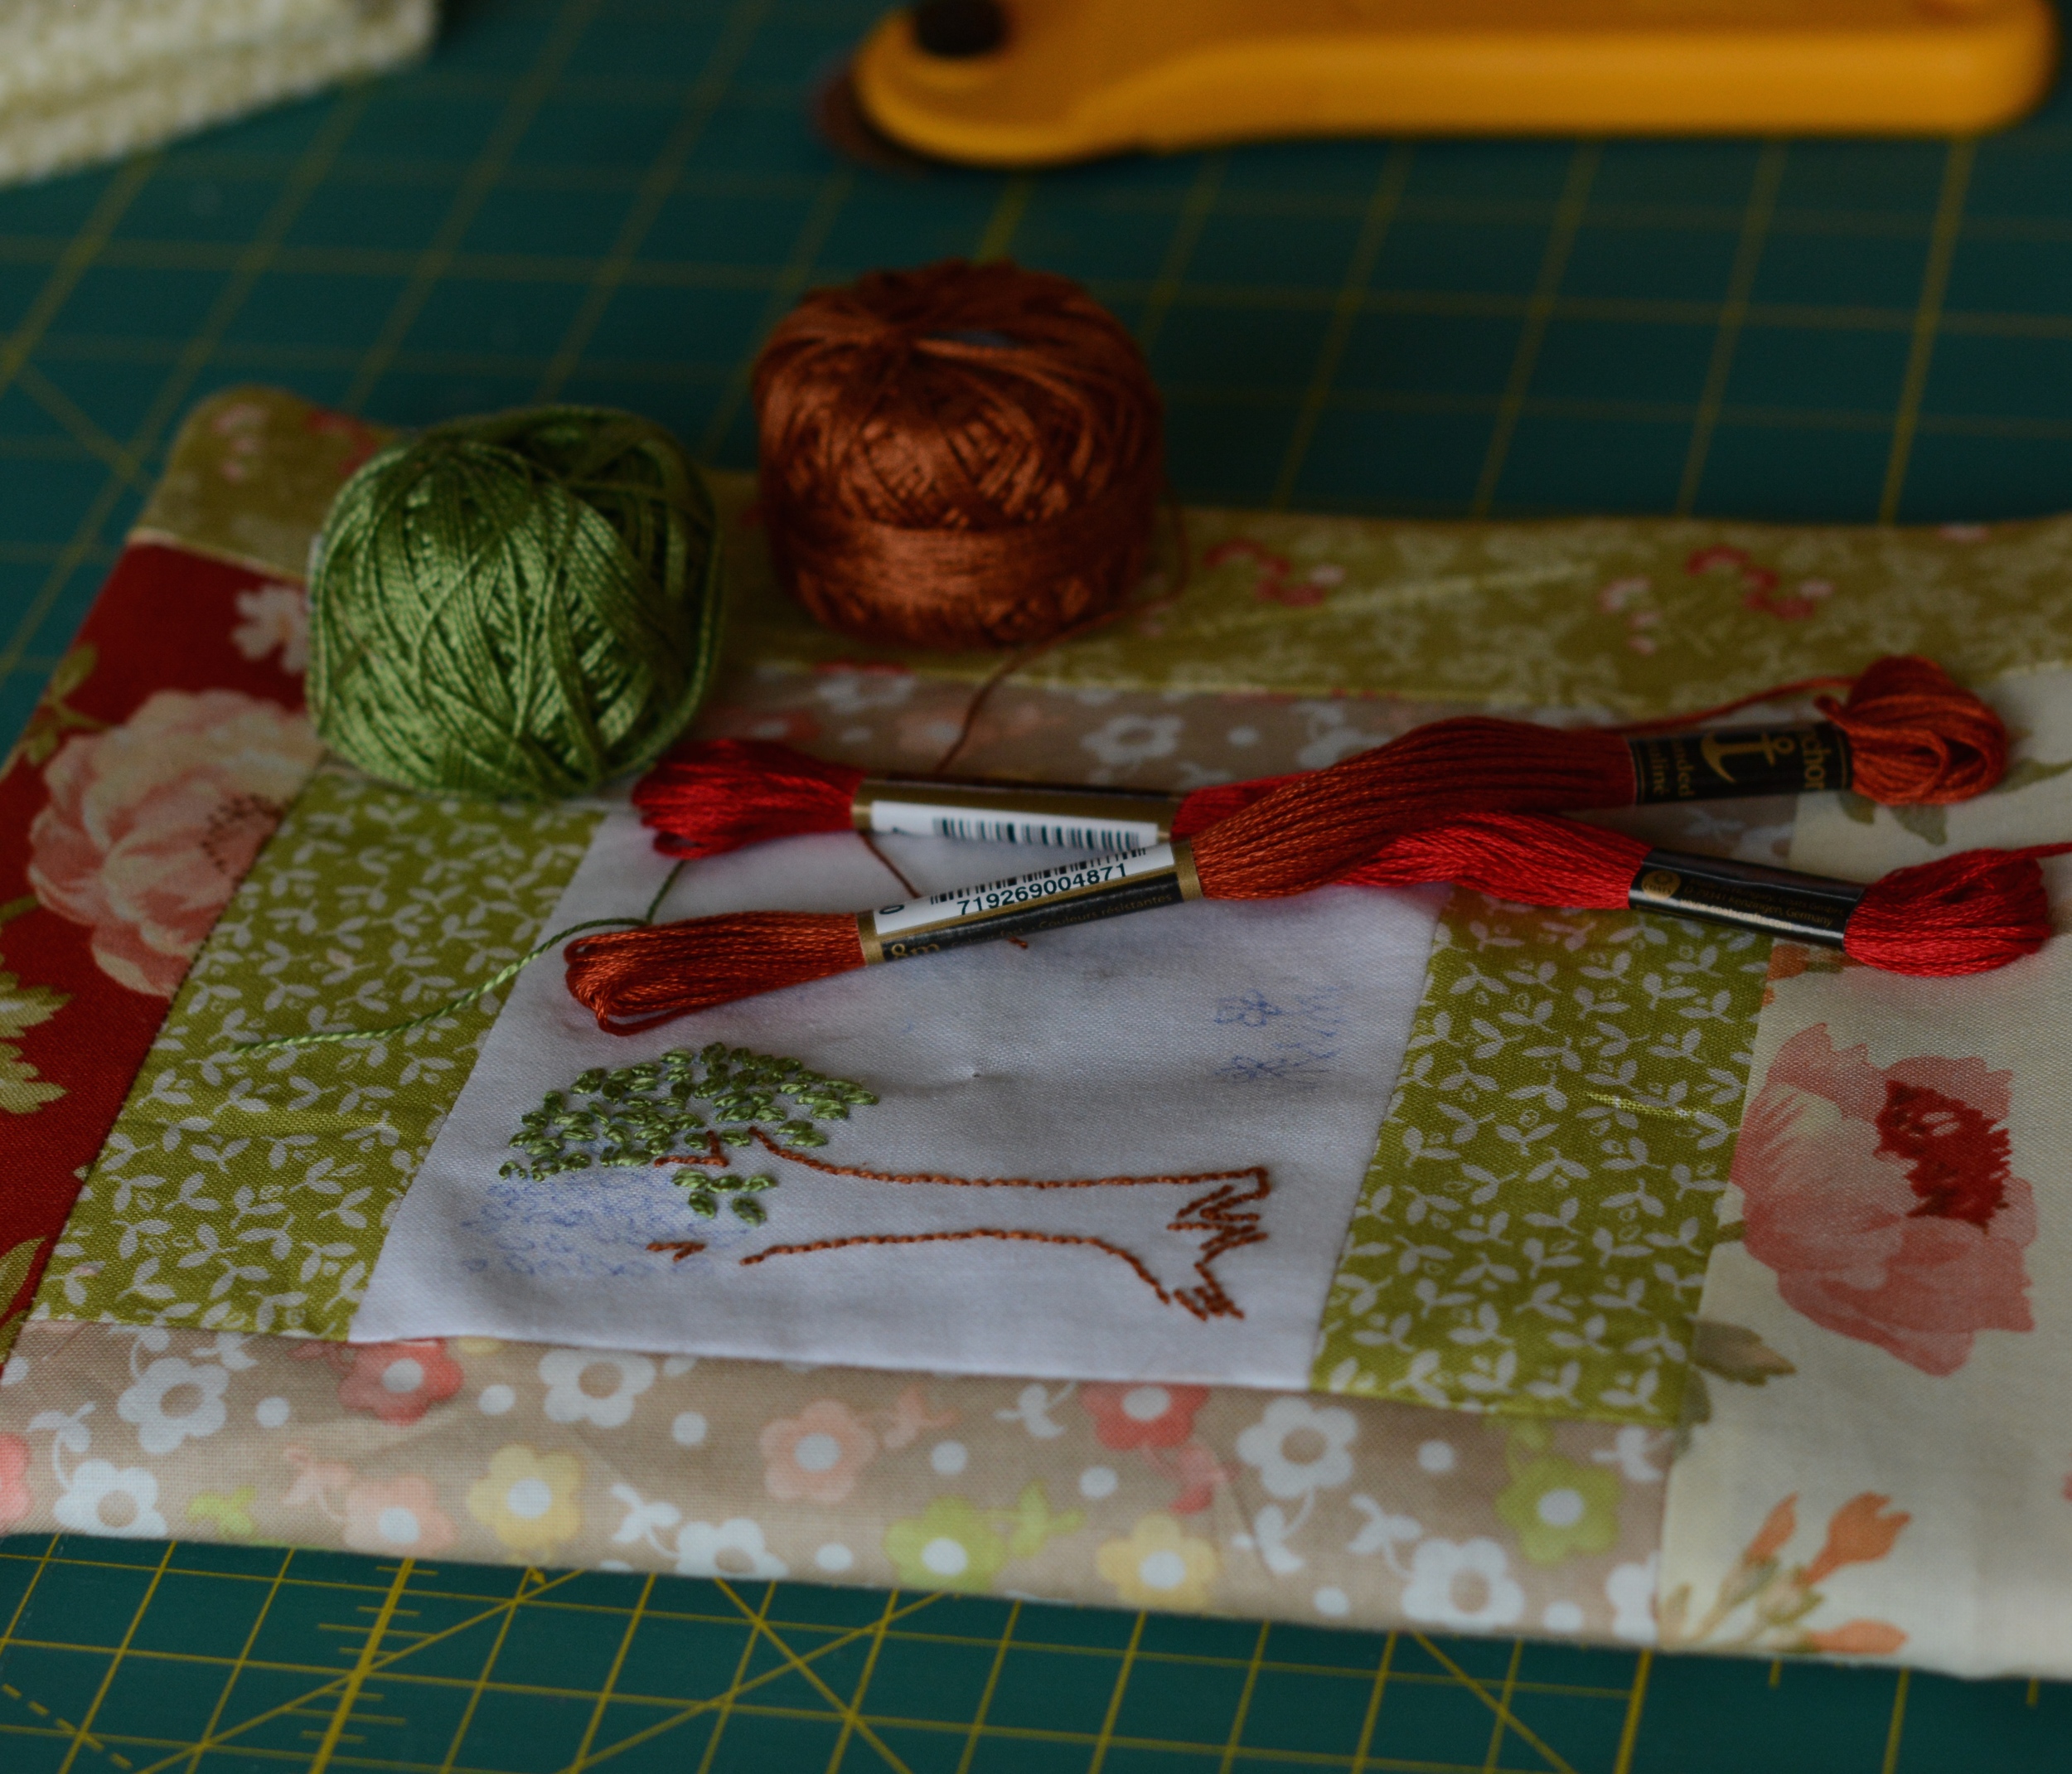
Now, to finish that embroidery. I promise to do it this week. Come back next Friday for the reprise of needle & thREAD and see if I can make good on that promise.